
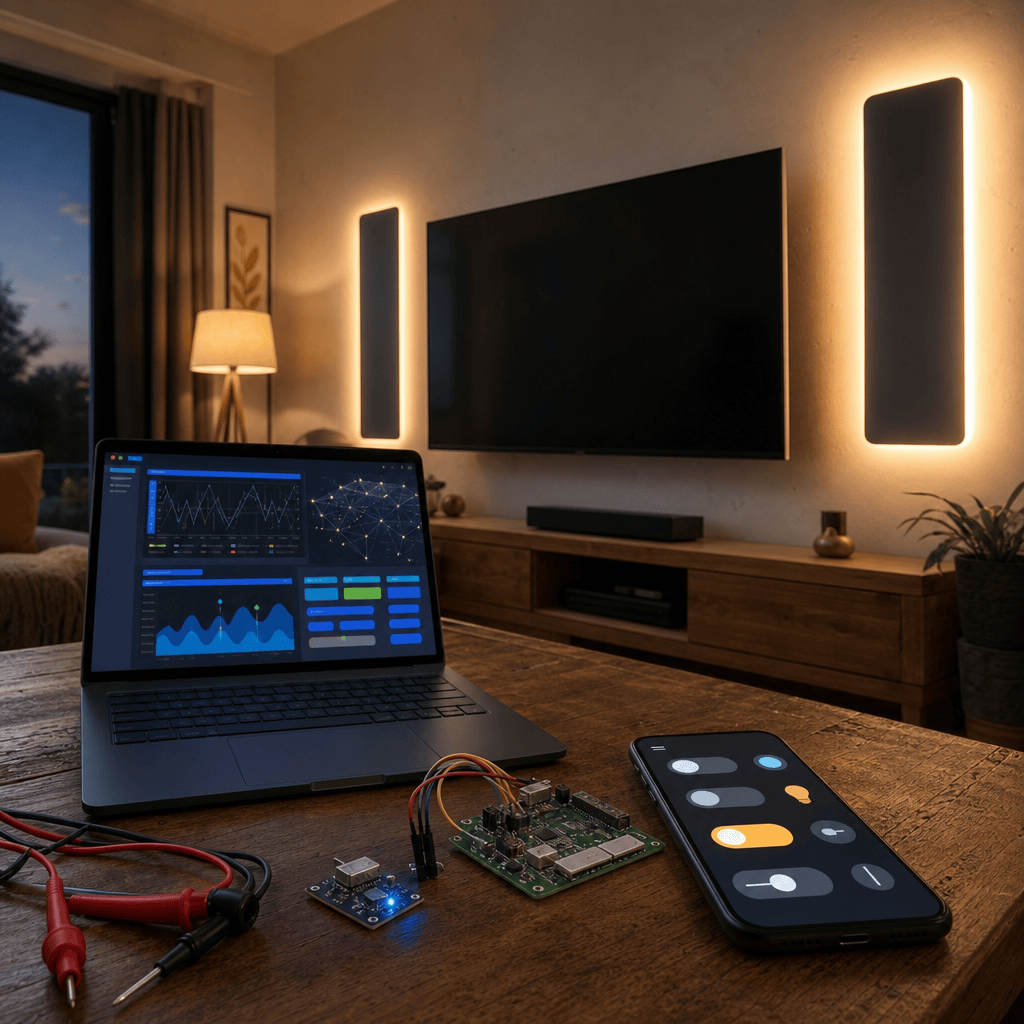
TL;DR: I integrated the proprietary BLE media wall lights that came with our new media wall into Apple Home using a Raspberry Pi, Node RED, Python with Bleak, and a Nordic nRF52840 BLE sniffer. The big lesson was simple: packet capture beats protocol guessing when a device has a real session flow behind its Bluetooth commands.
The media wall surprise
We recently had a media wall installed, and the lighting came as part of the setup.
I did not choose the lighting controller. I did not research it beforehand. At first, it was simply the lights that came with the wall.
Then I found the app.
The controller was managed through a Bluetooth mobile app, and that immediately changed how I saw it. What had been a bundled lighting controller suddenly became a familiar kind of puzzle: a closed device, controlled only through an official app, sitting on hardware I owned, just waiting to be understood.
That feeling was familiar because of my earlier smart blinds project, where I wrote about moving from closed source control to open automation in my smart blinds reverse engineering post.
This time, the target was not a blind motor. It was a proprietary BLE single channel PWM LED controller for the media wall lights.
My goal was straightforward: make the lights behave like a normal Apple Home light.
Siri.
On and off.
Brightness control.
No separate app required.
Why this felt familiar after the smart blinds
Because of the blinds project, I had a rough mental model for how this might go.
The optimistic version looked like this:
- Scan for the BLE device
- Find the service used by the app
- Identify the writable characteristic
- Send the right bytes
- Wrap it in a Raspberry Pi script
- Expose it to Apple Home through Node RED
That was the theory.
And to be fair, parts of it were right. BLE devices often expose services and characteristics. If you can discover the one the app writes to, you are halfway to understanding the control path.
But only halfway.
This project reminded me very quickly that BLE is not the same thing as a protocol. BLE gives you the transport. The actual conversation is whatever the vendor designed on top of it.
That difference mattered a lot here.
Why this was harder than expected
My early attempts were a mix of sensible engineering and wishful thinking.
I looked at public protocol guesses. I inspected the Android app package. I checked logs. I compared UUIDs. I tried writes that looked plausible.
Some writes were accepted. Some even seemed to make the lights change occasionally.
That was the dangerous part.
When something works once, it is tempting to assume you have found the command. But the behaviour was not reliable. The same write would sometimes do nothing. Sometimes it looked like state depended on what the official app had done recently. Sometimes the light reacted in a way that felt more accidental than deterministic.
That is when I had to step back.
The problem was not just finding bytes that the controller would accept. The problem was understanding the session the controller expected.
The trap: accepted BLE writes are not proof
This was the most important lesson from the project:
An accepted GATT write only proves that the device accepted bytes at a characteristic. It does not prove those bytes were a meaningful command.
That sounds obvious in hindsight, but it is easy to forget when you are testing manually.
A BLE characteristic can accept a write for many reasons. The value might be ignored. It might be valid only after a handshake. It might depend on session state. It might be part of a larger command structure. Or it might be accepted by the BLE stack but rejected silently by the application firmware.
In my case, accepted writes were a clue, not a solution.
They told me I was near the right area. They did not tell me I had the real protocol.
What the Android app and logs revealed
The Android side still helped.
Inspecting the app and reviewing logs gave me useful direction. It helped narrow down which services and characteristics were likely involved. It also confirmed that the app was not using some totally unrelated transport.
But it did not give me reliable control.
There were enough hints to keep going, but not enough to build something I would trust inside HomeKit. And that was the bar for this project. I did not want a demo. I wanted lights that worked when someone tapped a tile in Apple Home or asked Siri.
That meant I needed to see the real conversation.
Not guesses.
Not reconstructed intent.
The actual BLE traffic.
Why the BLE sniffer changed everything
The turning point was using a Nordic nRF52840 as a BLE sniffer.
I followed Nordic’s guidance for setting up the sniffer using their nRF Sniffer setup documentation, then captured the official app talking to the lighting controller.
That changed the project completely.
The capture showed that the official app was not simply connecting and firing a brightness command. It used a short session setup first. Only after that did it send the actual power or brightness frame.
That explained the unreliable behaviour from my earlier attempts.
I had been writing to something real, but I was not always speaking in the right context.
The sniffer also revealed, at a high level:
- The active service path used by the official app
- A short challenge and response style session setup
- A direct brightness range rather than a pile of unrelated magic values
- The need to turn the light on before sending a non zero brightness level
I am deliberately keeping the protocol description high level. This post is about the engineering process, not publishing a copyable command recipe for a proprietary controller.
The session setup and brightness model
Once I understood the flow, the automation became much cleaner.
The controller had a real brightness model. It was not a random list of magic values where one byte happened to mean dim and another happened to mean bright. The app was using a range, and HomeKit brightness could be mapped into that observed range.
That made the HomeKit integration feel natural.
The logic became:
- Brightness zero maps to the confirmed off behaviour
- Non zero brightness first ensures the light is on
- Then the brightness update is sent
- HomeKit brightness is scaled into the controller’s observed range
That sequence mattered.
If I sent brightness without first making sure the light was on, behaviour could be inconsistent. If I treated zero as just another brightness value, it did not match the controller’s real off behaviour. Small details like that are the difference between a hack that works on your desk and an automation that feels boringly reliable in daily use.
And boringly reliable is the goal.
Wiring it into Node RED and Apple Home
The final setup looks like this:
Apple Home sends on, off, and brightness requests into Node RED. Node RED exposes a dedicated HomeKit Lightbulb service called Media Wall Lights using the HomeKit bridged contrib node.
From there, Node RED calls a Raspberry Pi control script.
The script handles the BLE side:
- Scans for the lighting controller
- Connects
- Performs the required session setup
- Writes the power or brightness command
- Disconnects and cleans up properly
For BLE communication in Python, I used Bleak, which has clear documentation in the Bleak Python BLE docs. Bleak made the script side much easier to structure, especially once I had stopped guessing the protocol and knew the actual flow I needed to reproduce.
One practical detail that mattered more than expected was slider behaviour.
HomeKit brightness changes do not arrive as one neat final value. When you drag the brightness slider, Node RED can receive a stream of updates. If each of those turns into a fresh BLE scan, connect, handshake, write, and disconnect cycle, you are asking for trouble.
So Node RED coalesces rapid brightness changes.
Instead of hammering BLE for every tiny slider movement, it waits briefly and sends the latest intended value. The result is less chatty, more stable, and much kinder to the Raspberry Pi and the controller.
Reliability lessons: locks, retries, cleanup, and logs
BLE automation has a way of punishing optimism.
A command can fail because the device is asleep, the adapter is busy, the previous connection did not close cleanly, another process touched Bluetooth, or the moon looked at BlueZ funny.
So the final version includes the unglamorous parts:
- A lock so commands do not overlap
- Retries for transient failures
- Useful logs so I can see what happened
- Bluetooth cleanup so stale connections do not poison the next command
- Clear handling for on, off, and brightness paths
This is the part that rarely looks exciting in a project write up, but it is what makes the difference at home.
Nobody cares that the packet capture was clever if the light tile in Apple Home spins forever.
What I would improve next
The current design favours reliability over live responsiveness.
Each command goes through a controlled scan, connect, session setup, write, and cleanup path. That is robust, but it is not the smoothest possible experience for a live brightness slider.
A future improvement would be a persistent BLE worker.
That worker could keep more state, manage a longer lived connection, and make brightness changes feel more immediate. It would also add complexity, especially around reconnects, timeouts, and keeping the session healthy.
For now, I prefer the simpler model.
It works. It recovers well. It does not leave the Bluetooth stack in a strange state. And for media wall lights, that tradeoff is fine.
Responsible use disclaimer
This was done on hardware I own for personal home automation and learning.
The goal is interoperability in my own home, not bypassing systems I do not own or encouraging misuse. I am intentionally avoiding brand names, model details, device addresses, and copy paste protocol commands.
Reverse engineering can be a useful way to make owned devices work better with the systems we choose. It should also be done responsibly.
Key Takeaways
- Packet capture beats guessing. App inspection and logs helped, but the BLE sniffer revealed the real control flow.
- Accepted GATT writes are not proof of valid commands. They only prove the device accepted bytes at a characteristic.
- Session setup mattered. The official app performed a short handshake before sending power or brightness frames.
- HomeKit needs thoughtful mapping. Brightness zero maps to off, while non zero brightness turns the light on first and then sets brightness.
- Reliability is engineering, not decoration. Locks, retries, cleanup, coalescing, and logs made the automation usable day to day.
Conclusion
This project started as a small surprise inside a new media wall installation. I did not pick hack friendly lights. I just discovered that the controller used a Bluetooth app, and my brain immediately went back to the smart blinds project.
The familiar path helped, but the BLE sniffer made this one much more robust.
The end result is exactly what I wanted: the media wall lights now behave like a normal HomeKit light called Media Wall Lights. They work from Apple Home, respond to Siri, and no longer depend on opening a separate proprietary app for everyday use.
More importantly, the project reinforced a lesson I keep relearning: when a closed device almost makes sense, stop guessing and watch the real conversation.
📚 Further Reading & Related Topics
If you’re exploring reverse engineering BLE smart home devices for HomeKit, these related articles will provide deeper insights:
• Diving Deeper Into Networking Fundamentals : A useful companion for understanding the communication concepts behind connected devices, including how data moves between hardware, apps, and networks.
• Embarking on a Network Engineering Journey : This article provides a broader foundation in networking, which is helpful when analysing BLE traffic, device pairing, and smart home integrations.
• Incorporating AI and Blockchain in IoT Healthcare and Supply Chain : While focused on broader IoT use cases, it complements the HomeKit topic by exploring connected device ecosystems, interoperability, and security considerations.




Leave a Reply